The Functions editing environment
Segment Functions create reusable code that can be run in your Segment workspace either as sources to format incoming events, or as destinations, to handle specific event types.
When you create a function, write code for it, and save it, the function appears in the Catalog in your workspace only. You can then deploy that function in your workspace just as you would a conventional source or destination.
Access to Functions is controlled by specific access management roles. You may need additional access to create, and deploy functions.
Creating functions
Only Functions admins can create or edit functions.
- From your workspace, go to the Catalog and click the Functions tab.
- Click New Function.
-
Select the type of function you want to build, and click Build.
When you click Build, a code editor appears. Different template code is available depending on which type of function you created.
- Use the editor to write the code for your function, configure settings, and test the function’s behavior.
- Once you finish writing your function, click Configure to give it a name.
- Click Create Function to save your work and make this function available in your workspace.
After you click Create Function, the function appears on the Functions catalog page in your workspace.
Editing a function
If you are a Workspace Owner or Functions Admin, you can manage your function from the Functions catalog page.

If you’re editing an existing function, you can Save changes without changing the behavior of existing instances of the function.
You can also choose to Save & Deploy to push changes to all, or specific functions in your workspace that are already deployed. You might need additional permissions to deploy these changes.
Deploying source functions
You must be a Workspace Owner or Source Admin to connect an instance of your function in your workspace.
- From the Functions tab, locate the source function you want to deploy.
- Click Connect Source and follow the prompts to configure the source. (You can access these settings later by navigating to the Source Settings page for your source function.)
- Locate the webhook URL for the source, either on the Overview or Settings → Endpoint page.
- Copy this URL and paste it into the upstream tool or service.
Deploying destination functions
If you’re editing an existing function, you can Save changes without changing the behavior of your deployed function. You can also choose to Save & Deploy to push changes to all, or specific functions in your workspace that are already deployed.
When you deploy your destination function in your workspace, you fill out the settings on the destination configuration page, similar to how you would configure a normal destination.
Functions permissions
Functions have specific roles which can be used for access management in your Segment workspace.
Access to functions is controlled by two permissions roles:
- Functions Admin: Create, edit and delete all functions, or a subset of specified functions.
- Functions Read-only: View all functions, or a subset of specified functions.
You also need additional Source Admin permissions to enable source functions, connect destination functions to a source, or to deploy changes to existing functions.
️Settings and Secrets
Settings allow you to pass configurable variables to your function, which is the best way to pass sensitive information such as security tokens. For example, you might use settings as placeholders to use information such as an API endpoint and API key. This way, you can use the same code with different settings for different purposes. When you deploy a function in your workspace, you are prompted to fill out these settings to configure the function.
First, add a setting in Settings tab in the code editor:
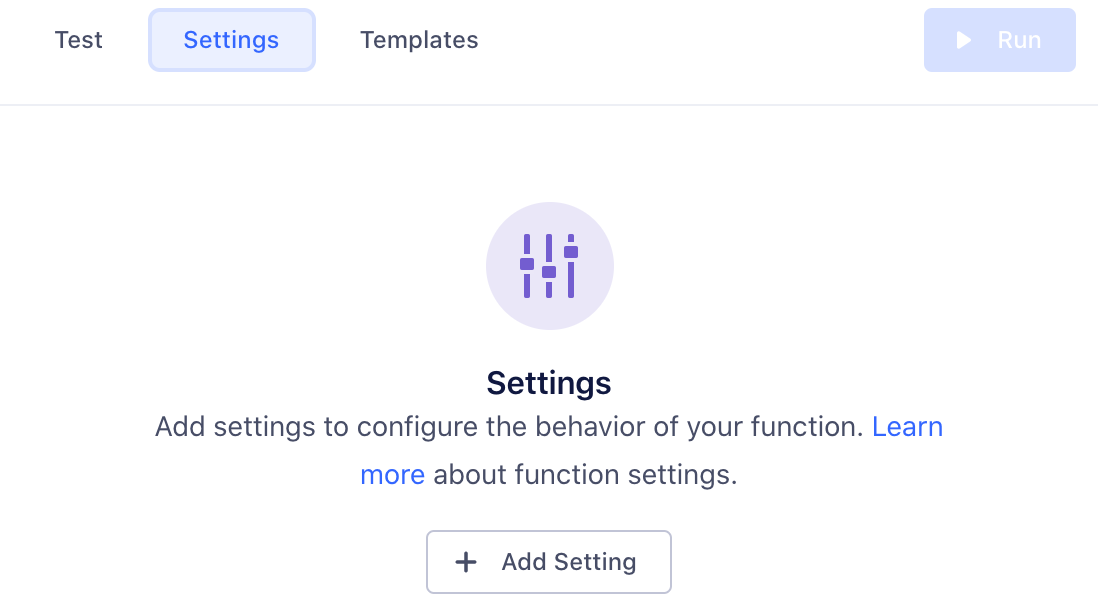
Click Add Setting to add your new setting.
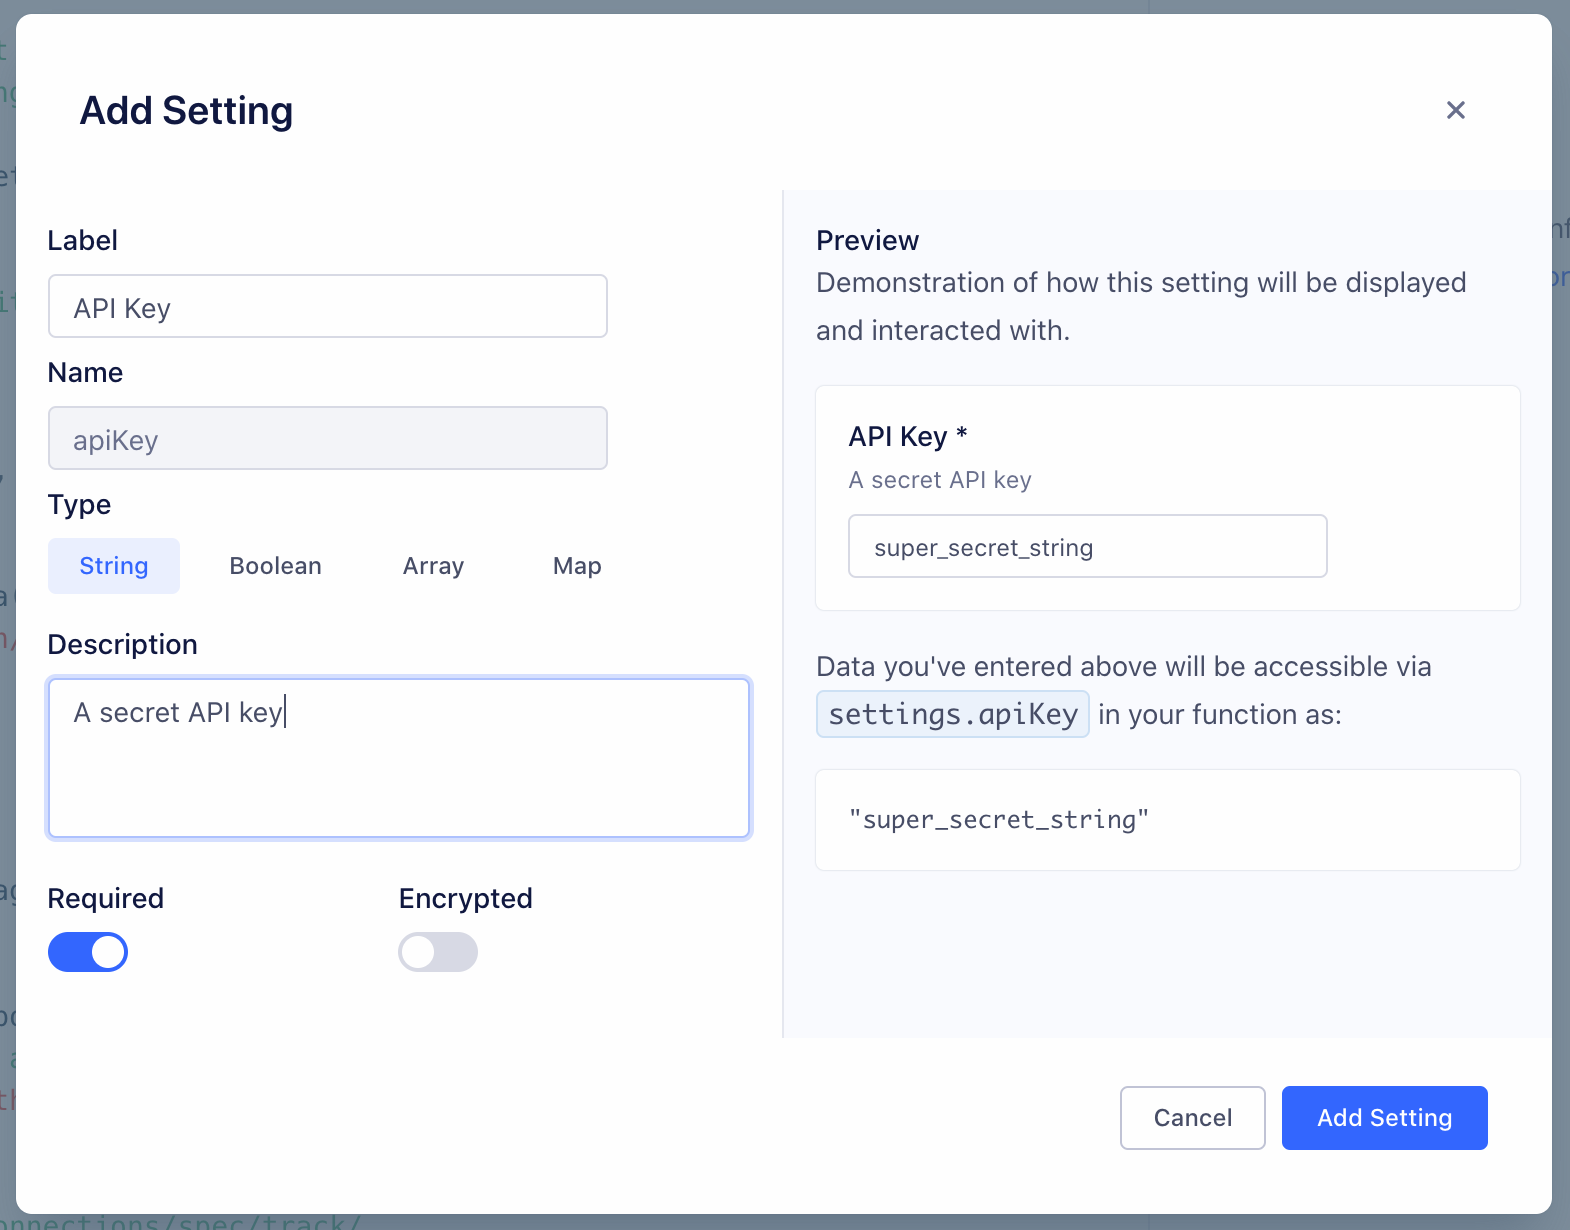
You can configure the details about this setting, which change how it’s displayed to anyone using your function:
- Label - Name of the setting, which users see when configuring the function.
- Name - Auto-generated name of the setting to use in function’s source code.
- Type - Type of the setting’s value.
- Description - Optional description, which appears below the setting name.
- Required - Enable this to ensure that the setting cannot be saved without a value.
- Encrypted - Enable to encrypt the value of this setting. Use this setting for sensitive data, like API keys.
As you change the values, a preview to the right updates to show how your setting will look and work.
Click Add Setting to save the new setting.
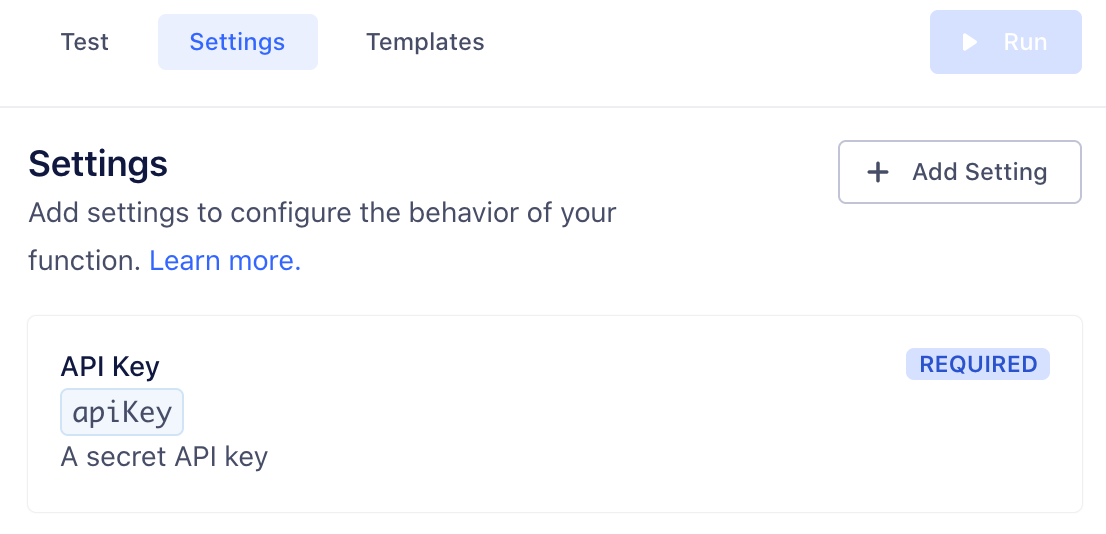
Once you save a setting, it appears in the Settings tab for the function. You can edit or delete settings from this tab.
Runtime and Dependencies
Functions use Node.js 14.x.
Functions do not currently support importing dependencies, but you can contact Segment Support to request that one be added.
The following dependencies are installed in the function environment by default.
atob v2.1.2exposed asatobaws-sdk v2.488.0exposed asAWSbtoa v1.2.1exposed asbtoaform-data v2.4.0exposed asFormData@google-cloud/automl v2.2.0exposed asgoogle.cloud.automl@google-cloud/bigquery v5.3.0exposed asgoogle.cloud.bigquery@google-cloud/datastore v6.2.0exposed asgoogle.cloud.datastore@google-cloud/firestore v4.4.0exposed asgoogle.cloud.firestore@google-cloud/functions v1.1.0exposed asgoogle.cloud.functions@google-cloud/pubsub v2.6.0exposed asgoogle.cloud.pubsub@google-cloud/storage v5.3.0exposed asgoogle.cloud.storagejsonwebtoken v8.5.1exposed asjsonwebtokenlodash v4.17.15exposed as_moment v2.26.0exposed asmomentnode-fetch v2.6.0exposed asfetchoauth v0.9.15exposed asOAuthstripe v8.115.0exposed asstripexml v1.0.1exposed asxmlxml2js v0.4.23exposed asxml2js
Only the crypto Node.js module is included (exposed as crypto). Other built-in Node.js modules are not available.
Caching
Per-function global caching is available in the cache namespace. The following functions are available:
cache.load(key: string, ttl: number, fn: async () => any): Promise<any>- Obtains a cached value for the provided
key, invoking the callback if the value is missing or has expired. Thettlis the maximum duration in milliseconds the value can be cached. If omitted or set to-1, the value will have no expiry. There is no guarantee that a value will be retained in the cache for the provided duration, however. The cache space is limited, so efforts to minimize the cached value size will afford a higher cache hit ratio.
- Obtains a cached value for the provided
cache.delete(key: string): void- Forcefully remove the value associated withe the
key.
- Forcefully remove the value associated withe the
The following example gets a JSON value through the cache, only invoking the callback as needed:
const ttl = 5 * 60 * 1000 // 5 minutes
const val = await cache.load("mycachekey", ttl, () => {
    const res = await fetch("http://echo.jsontest.com/key/value/one/two")
    const data = await res.json()
    return data
})
This page was last modified: 14 Jul 2020
Need support?
Questions? Problems? Need more info? Contact us, and we can help!